Friday, June 24, 2011

Felt Flower Garland Tutorial

I have been looking for some neat items to make for the dress up box, because my children have really been into playing with it lately.  They are really interested in putting on clothes and hats, and always love to hide under the playsilks.  Though I have found some really adorable crowns and garlands on Etsy and elsewhere, I didn't see exactly what I had in mind, so I came up with these cute flower crowns that would be great for any little or not-so-little girl.  They don't require advanced sewing skills to make (I am no expert seamstress), but it does take some time to cut out all the little pieces.  So...here's my first tutorial, the Felt Flower Hair Garland. You could make yours as interesting, wild, abstract, or simple as you want. 

You'll need:
Felt, in flowery and leafy colors, plus an exra piece of green for the headband
1/2 inch elastic, about 6-10 inches
small piece of fabric 2 x 10-14 inches

First, cut out and sew together various felt flowers and leaves.  I just experimented to find a few shapes I liked. 


Next, cut out two pieces of green felt, about 16 inches in length and 1 1/2 to 2 inches wide for the headband.  My daughters are toddlers, so if yo have an older daughter, you might want to measure how long you would like your flowers to be and lengthen as necessary.  I also had to sew two pieces of felt together to get the necessary length.


Sew the flowers and leaves onto one of the green strips.  I placed the flowers along one of the strips the way I wanted them to be on the finished piece and used that as my "pattern" while I sewed them to the other strip.


Here are my finished flower strips.  I'm making one for each of my girls, so I have two pictured.


After sewing on the flowers, pin the other strip of green felt along the back of the strip of flowers.


Sew into place along the long edges with a blanket stitch, leaving the ends open to insert the elastic.


To make the casing for the elastic, cut a 10x2 inch strip of fabric.  You could use any lightweight fabric, I dyed an extra piece of silk I had on hand.  Fold this in half lengthwise, wrong side out and sew along the long edge. 

Turn right side out to make a tube.  Insert a 6 inch piece of elasticin the tube and sew ends closed, scrunching up the fabric and making sure the elasic is encased in the end, making a stretchy worm.  Again, you might need to adjust the casing and elastic length for size.


Insert the ends of the elastic into the open ends of the headband and blanket stitch to secure.


To finish it off, add some pretty cascading ribbons.


Lovely!

Sunday, June 19, 2011

Bread

We have been on a real bread making kick here lately.  Until recently, the only bread I’ve been able to make is Irish soda bread.   I’ll admit, I was afraid of yeast breads.  Lately, I have decided to conquer my fear of the yeast and we have been makin’ bread like crazy around here!   it’s a great activity with toddlers, they love to touch the flour and dough and really enjoy getting messy (Toddler aprons are another project I’m trying to get around to, more on that another day). 


I’m still trying to find a light whole wheat bread, but everything I’ve tried has been pretty heavy.   However, I found this white bread recipe and adjusted it a little, and it has turned out wonderfully every time.   This week, we had slow cooker pork barbecue sandwiches with homemade buns.   Delicious!  Here’s the recipe…

2 (.25 ounce) packages active dry yeast
3 tablespoons white sugar
2 1/2 cups warm water (110 degrees F)
3 tablespoons margerine, softened  (the original recipe called for lard, and you could also use butter, I suppose.)
1 tablespoon salt
6 1/2 cups bread flour

1.  In a large bowl, dissolve yeast and sugar in warm water. Stir in lard, salt and two cups of the flour. Stir in the remaining flour, 1/2 cup at a time, beating well after each addition. When the dough has pulled together, turn it out onto a lightly floured surface and knead until smooth and elastic, about 8 minutes.
2.  Lightly oil a large bowl, place the dough in the bowl and turn to coat with oil. Cover with a damp cloth and let rise in a warm place until doubled in volume, about 1 hour.
3.  Deflate the dough and turn it out onto a lightly floured surface. Divide the dough into equal pieces and form into buns.  Cover the buns with a damp cloth and let rise until doubled in volume, about 40 minutes.  (You could place in bread pans at this point, let rise, and voila! White bread!)
4. Preheat oven to 425 degrees.
4. Bake at 375 degrees F for about 20 minutes or until the tops are light golden brown.

Enjoy!

Tuesday, June 14, 2011

Summer!

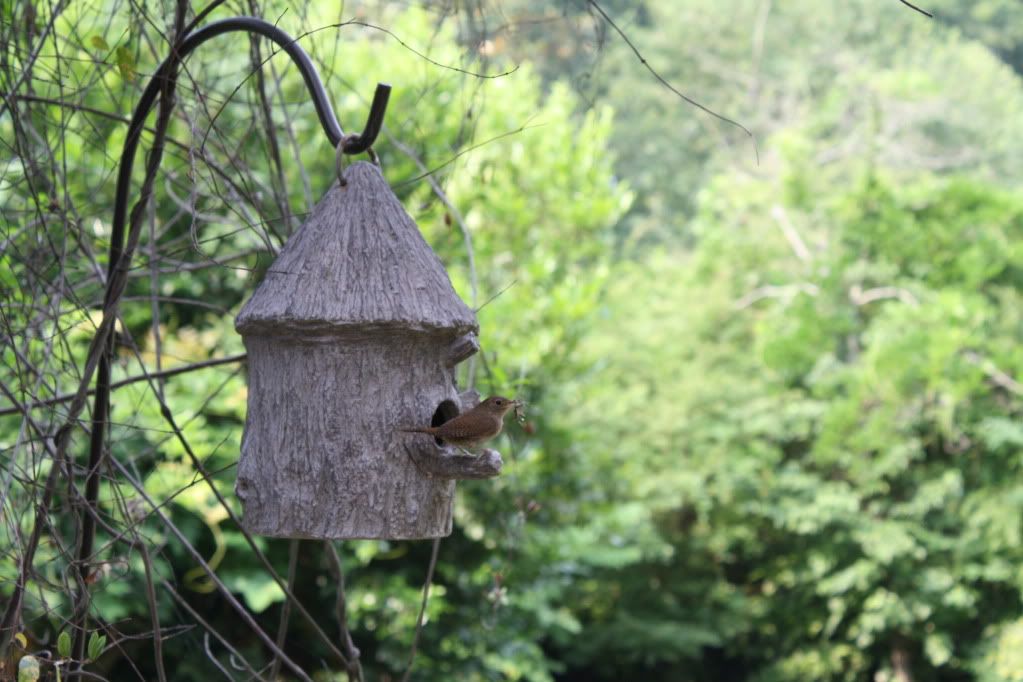
A perfect summer day.  Market in the morning and an afternoon spent outside.  We also got a special treat today.  While we were outside this morning, we got to see all our baby birds leave the nest!


Saturday, June 11, 2011

Gardens

This week, we went to the Botanical Garden with Nana.  We visit all the time and it's a fantastic place for the kiddos to run around.  Lots of little paths to explore, fountains, which they love, and it's never too busy.  They always have a fantastic time and are exhausted when we leave. 


In our own garden, we have a nest in a birdhouse just outside the back door.  We have been going outside in the morning and listening to the baby birds chirp. 

Saturday, June 4, 2011

Hot Dogs on a Stick...yum!

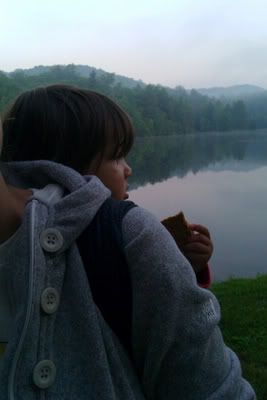
Last weekend, we took the girls on their first camping trip.  We made hot dogs and s'mores over the campfire and slept in our new (bigger) tent.  We love camping, and its great to finally be able to go again.  It was a holiday weekend, so the campsite was super busy, but we had a great time.   Isla woke up really early and asked for a "pick up", so I wrapped her on my back and we took a walk around the campsite and went to the lake to look at ducks and fish and listen to the morning birdsongs.  It was a lovely weekend.